


目前 elasticsearch 的版本已经到了 8.6.2 ,安装运行很简单,几乎不需要调试。但在SpringBoot项目开发中发现缺少对应版本的 elasticsearch-rest-high-level-client 和 transport-netty4-client 库jar包(实际上8已经弃用这两个包,但网上教程并没有跟上),Maven仓库中提示无法找到。因此只得放弃,采用版本7的最高版本 7.17.9。但在安装过程中会出现一些问题。 主要问题如下:
Caused by: java.lang.RuntimeException: can not run elasticsearch as root
ERROR: [2] bootstrap checks failed. You must address the points described in the following [2] lines before starting Elasticsearch.
bootstrap check failure [1] of [2]: max file descriptors [4096] for elasticsearch process is too low, increase to at least [65535]
bootstrap check failure [2] of [2]: max virtual memory areas vm.max_map_count [65530] is too low, increase to at least [262144]
另外还有权限的一些问题。现将安装步骤记录一下,以便将来再装的时候避坑。
1.下载
...
2.解压
tar zvxf elasticsearch-7.17.9-linux-x86_64.tar.gz
3.移动
mv elasticsearch-7.17.9 /usr/local/
4.elasticsearch默认不允许以root运行,所有建立新用户
useradd es
passwd es //设置用户es的密码
5.更改目录属主和权限
chown -Rf es:es /usr/local/elasticsearch-7.17.9
chmod -Rf 770 /usr/local/elasticsearch-7.17.9
6.修改elasticsearch.yml配置文件
...//暴露主机
network.host: 0.0.0.0
...
ingest.geoip.downloader.enabled: false
//单机删node-2
cluster.initial_master_nodes: ["node-1"]
7.修改防火墙
vi /etc/firewalld/zones/public.xml
<!-- 增加9200和9300端口 -->
<port protocol="tcp" port="9200" />
<port protocol="tcp" port="9300" />
8.执行使防火墙生效
firewall-cmd --reload
9.修改vm.max_map_count内存大小
vi /etc/sysctl.conf
...//加入下面一行
vm.max_map_count = 262144
保存后执行 sysctl -p 使之生效
10.修改/etc/security/limits.conf,在最后加入
es hard nofile 65536
es soft nofile 65536
保存使之生效。
11.现在可以尝试运行了。
cd /usr/local/elasticsearch-7.17.9
cd bin
su es
./elasticsearch
查看是否成功。
可以用curl localhost:9200以及浏览器中输入http://ip:9200看运行结果。
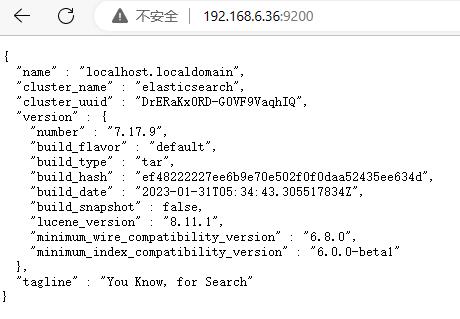
成功后,ctrl+c停止服务 加参数d使之在后台重新运行。
./elasticsearch -d
lzh安装纠错手记
2023.02.23-2023.02.24
-- 续安装elasticsearch head --
1.安装node.js
yum install epel-release -y
yum install nodejs -y
安装完测试一下版本
[root@localhost bin]# node --version
v16.15.0
[root@localhost bin]# npm --version
8.10.0
2.下载head压缩包 elasticsearch-head-master.zip,解压,上传到服务器。如,上传到 /usr/local/elasticsearch-head-master
3.安装插件
cd /usr/local/elasticsearch-head-master
cnpm install
4.修改elaticseach.yml文件,解决跨域问题。
vi /usr/local/elasticsearch-7.17.9/config/elasticsearch.yml
增加两行
http.core.enabled: true
http.core.allow-orgin: "*"
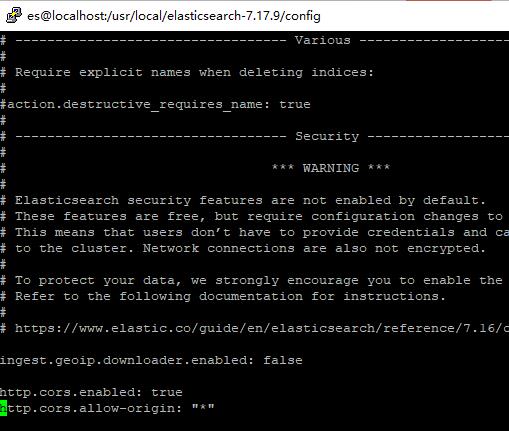
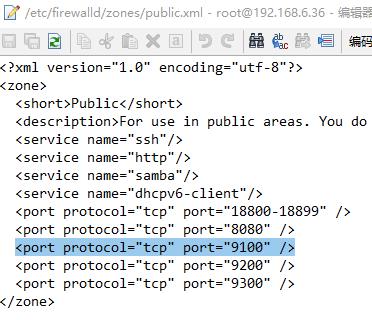
5.开启防火墙9100端口
vi /etc/firewalld/zones/public.xml
<!-- 增加下面一行 -->
<port protocol="tcp" port="9100" />
6.启动elasticsearch(如果已运行,则杀进程重新开启)
ps -ef|grep elasticsearch
kill -9 进程号
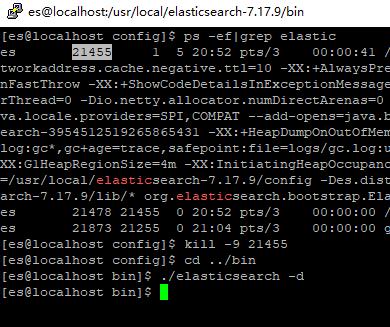
----------------------------------
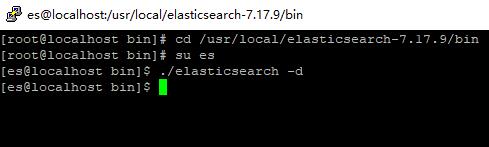
cd /usr/local/elasticsearch-7.17.9/bin
su es
./elasticsearch -d
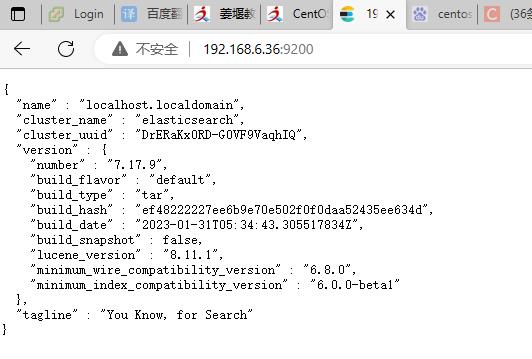
浏览器打开 http://{ip}:9200 或 curl http://{ip}:9200 查看elasticsearch是否成功启动
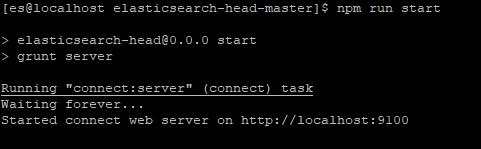
7.启动elasticsearch-head
cd /usr/local/elasticsearch-head-master
npm run start
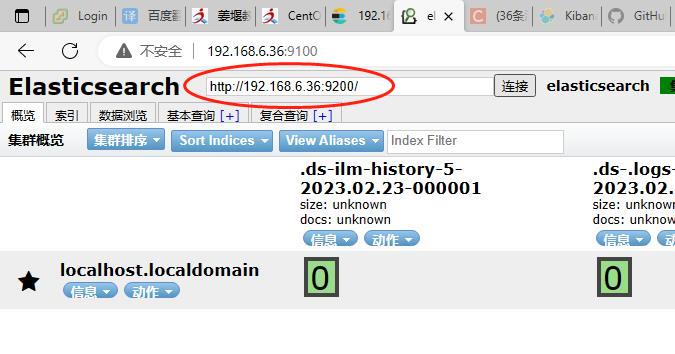
8.用elasticsearch-head连接服务器。新开浏览器窗口,输入 http://{ip}:9100
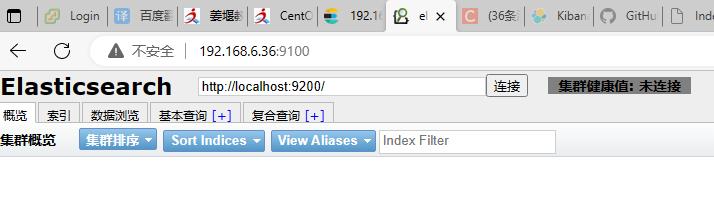
将localhost改成 elasticsearch服务器的ip。再点击连接。如果成功,则显示如下图。
9.修改elasticsearch-head为后台运行。
ctrl + c 结束服务。执行以下命令
npm run start &
后面加个&代表在后台运行。
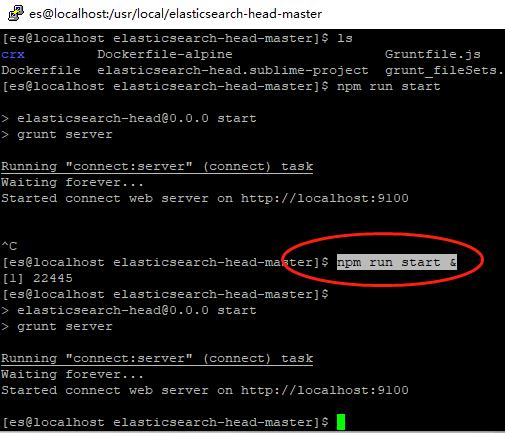
再次观察运行情况elasticsearch和elasticsearch head运行情况。即刷新查看浏览器中的端口中号为9200 和 9100是否正常。
lzh于2023.02.24晚间安装记录
---- 续:安装 ik 分词器 ----
github下载 ik 分词器。地址:https://github.com/medcl/elasticsearch-analysis-ik
由于elasticsearch-analysis-ik针对7的最高版本是 7.17.6 ,无法进行默认安装。需要调整一下分词器插件的配置文件中的对应版本。
安装步骤:
1.下载elasticsearch-analysis-ik解压zip文件。
2.用编辑器打开plugin-descriptor.properties
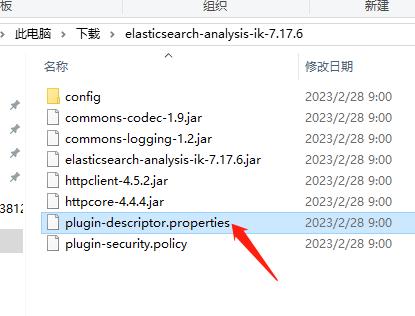
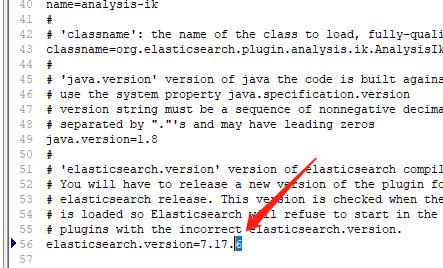
3. 将最后一行的 elasticsearch.version=7.17.6 改成 elasticsearch.version=7.17.9
4.在服务器的elasticsearch插件目录下建立ik目录
cd /usr/local/elasticsearch-7.17.9/plugins
mkdir ik
5.将刚才的解压文件上传到 ik 目录下。
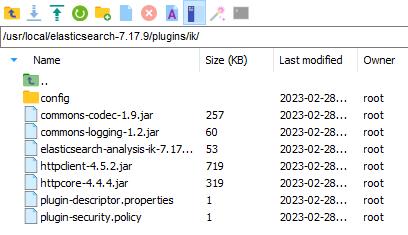
6.修改文件夹的属主
chown -Rf es:es /usr/local/elasticsearch-7.17.9/plugins
7.重新运行elasticsearch。
2023.2.28 上午 lzh 安装记载